When developing for a Linux based appliance, such as the SBCs from Technologic Systems, it sometimes becomes necessary to utilize Linux tools which don't exist in the Windows world (for example, the 'dd' command to copy a .dd image to an SD card). Except installing Linux on a development PC can be difficult and time consuming for some and obtaining an extra computer to run Linux on is an additional cost.
A practical solution is to offer a pre-built Linux virtual machine (guest) in which you can run Linux commands as if you're sitting on a physical Linux PC from your Windows or Linux PC (host). This guide will walk you through how to prepare the ts-virtual-dev.vdi VirtualBox virtual machine image for use on a host machine using Oracle's VirtualBox application. This guide assumes that you have already installed VirtualBox successfully and will to walk you through how to setup and start your Linux guest. If you do need assistance installing VirtualBox, please refer to Chapter 2 of the VirtualBox User's Manual.
Installing and running a VirtualMachine is fairly basic and doesn't have a lot of requirements. You will, however, need a computer with enough harddrive space to both install VirtualBox and have a minimum of 5.8GB free (which will dynamically expand as needed up to a max of 16GB) for the virtual machine image referred to in this guide. Other hardware requirements are as follows (source: VirtualBox FAQs)
You will need to download VirtualBox (3.2.0 r61806 or above)for Windows hosts from the VirtualBox website here: http://www.virtualbox.org/wiki/ Downloads.
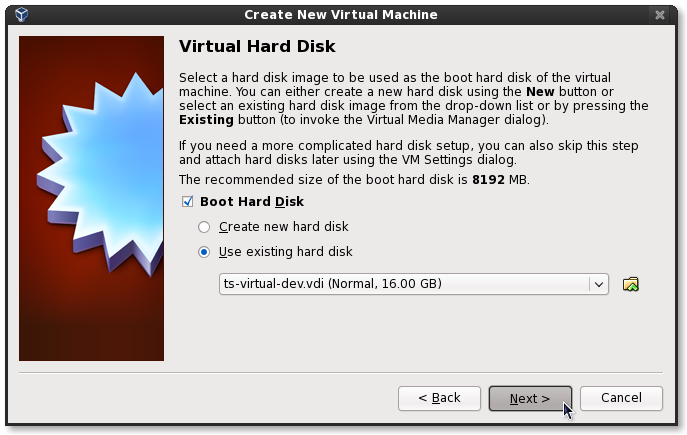
You will also need to download the pre-built VirtualBox .vdi image containing the Technologic Systems VirtualBox developmnet environment based on Ubuntu 10.04 LTS with guest additions installed. You can download this image here: ts-virtual-dev.vdi.gz2.
When you have finished installing VirtualBox and you have downloaded the pre-built ts-virtual-dev.vdi image, you will need to 1) extract the ts-virtual-dev.vdi.gz2 file using 7zip, or a similar program, and then 2) move the extracted ts-virtual-dev.vdi image from the original download location on your harddrive to C:\Documents and Settings\Username\.VirtualBox\VDI\ or another appropriate location that you'll remember.
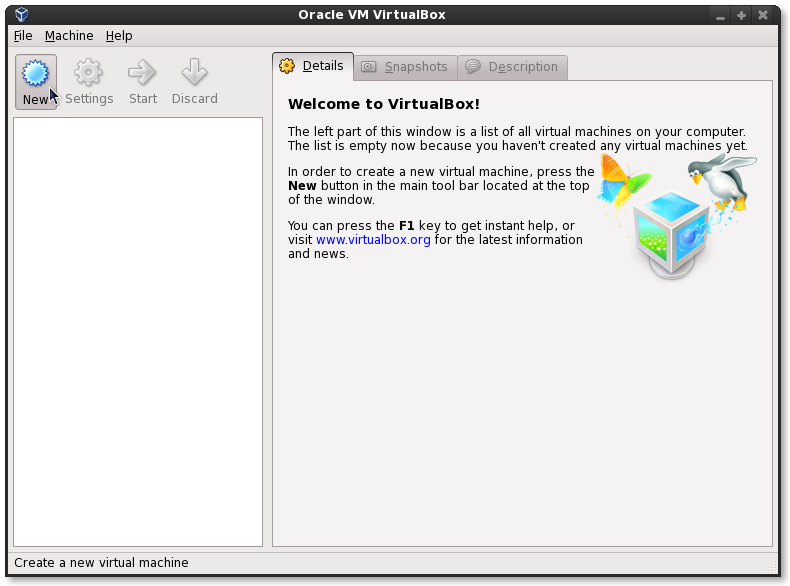
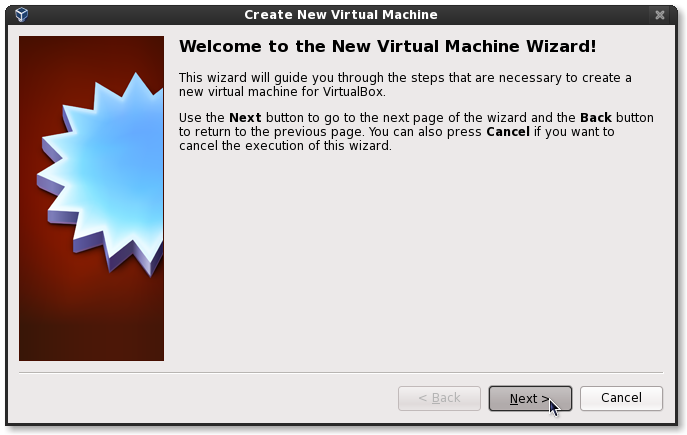
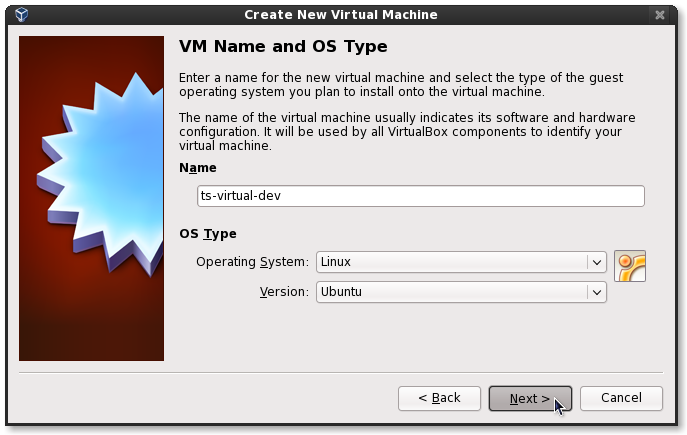
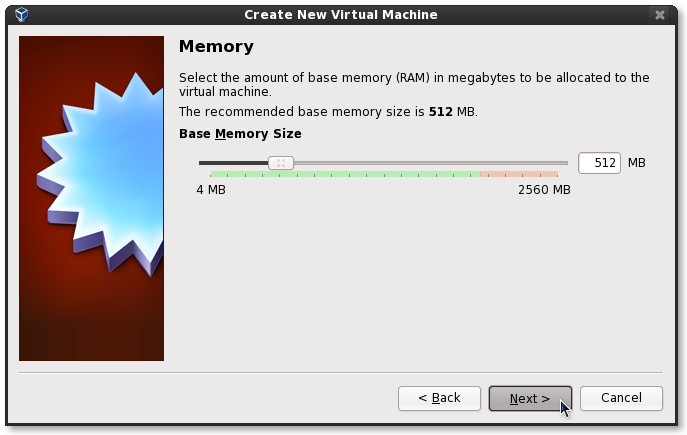
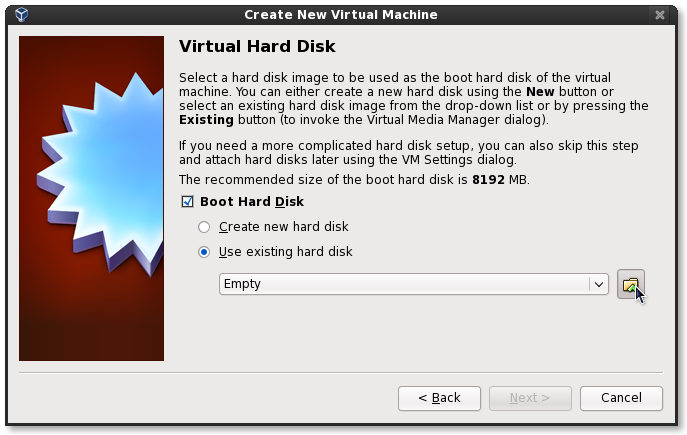
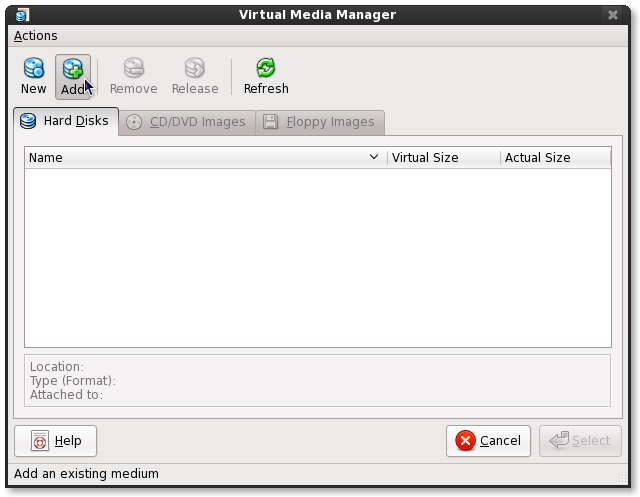
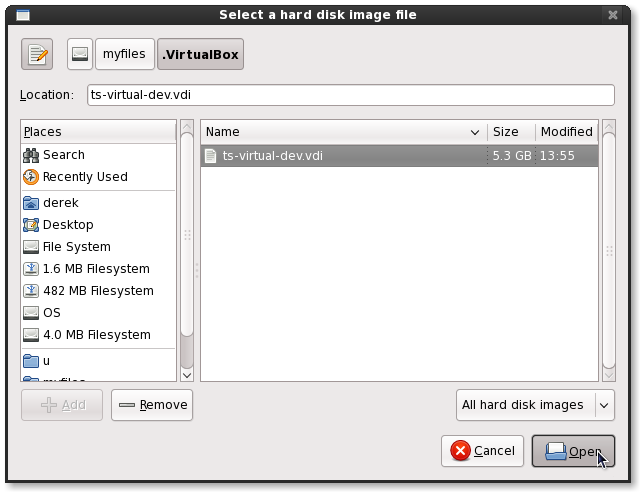
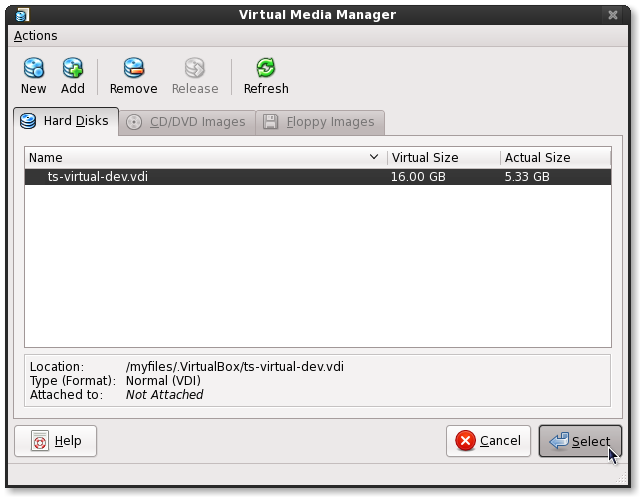
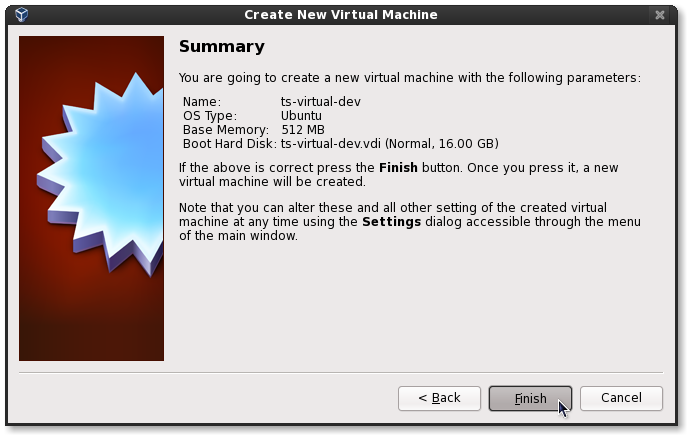
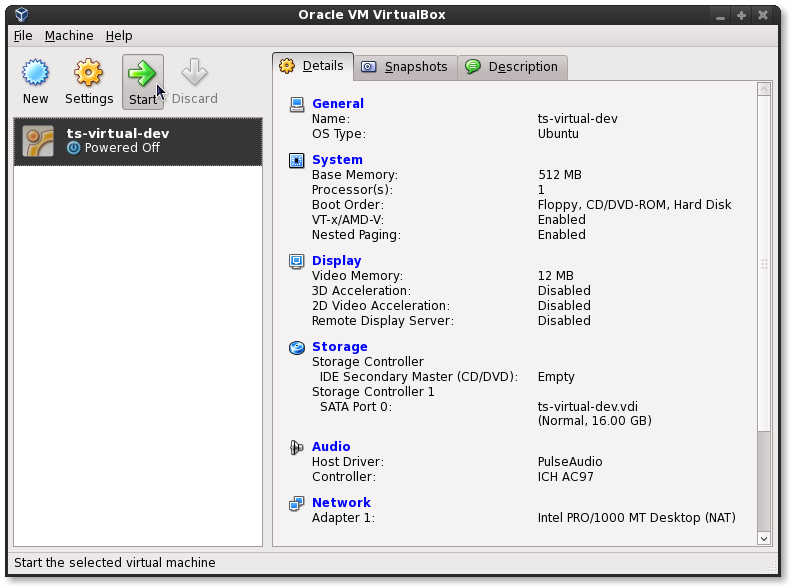
The following is a step-by-step guide explaining how to setup the ts-virtual-dev.vdi VirtualBox virtual machine image.
I would like to follow through on how to copy a .dd image to an SD card by mentioning the required commands. You will probably want to setup a shared folder between the guest and host so that you can access the .dd image that you probably downloaded onto the host machine. Section 4.7 of the user's manual will assist you in this. When you have access to the .dd image, follow the steps below.
   1.) In the terminal, find the required information about the SD card
       inserted.  Most importantly, the /dev/sd* location.
        * sudo fdisk -l
   2.) Once found, you will want to copy the .dd image to the entire SD card.
        * sudo dd if=theImage.dd of=/dev/sdb
       -- Or, alternatively, you can write an image to a single partition of the
          SD card.
           * sudo dd if=partition2_image.dd of=/dev/sdb2
   3.) Furthur, you can mount the SD card manuall using the following commands
        * sudo mkdir /mnt/sdcard_part1
        * sudo mount /dev/sdb1 /mnt/sdcard_part1
Additional resourses are listed below
Image locations, website addresses, and programs may change in time so do not follow this guide verbatim too far past the date it was created on. It may be updated once and a while, but it is not guaranteed. Even if things change, the principles and steps shown in this guide will probably remain the same.
I would also like to add that this document and the subject matter is NOT supported by Technologic Systems. I chose to create this guide on my own time at home and publish it on an semi-official webpage located on the Technologic Systems server. I nor Technlogic Systems are responsible for any damages and/or headaches this guide could have caused. I am providing it in hopes that it will be useful to people (even those who may not be our customers).You may be wondering why I chose to use the Ubuntu Linux distribution. Well, I wanted to offer the most user-friendly and popular Linux distribution so that it was easy and quick for people to start developing their products quickly with the smallest learning curve possible. Ubuntu has been flaunted and deemed as such by the majority of the Linux community. I also wanted to give the users a Debian based distribution so it matched the SBCs closely.
Created: 05/24/10
VirtualBox version used in this guide: 3.2.0-r61806